
Every property and Starlink project is different. This guide explains the practical factors considered during professional installation and helps you prepare informed questions before work begins.
Before the appointment
Your installer reviews the project address, Starlink kit model, requested service, mounting preference, and any photos you provide. Having the complete kit and requested hardware on site helps prevent delays. An adult authorized to approve the mounting location should be present.
Property and obstruction review
The first on-site step is evaluating the property. The dish needs a broad, unobstructed view of the sky. Trees, rooflines, nearby buildings, terrain, and seasonal leaf growth can all influence placement. A good location must also be safely accessible and support a practical cable route.
Approving the plan
Before drilling, the proposed dish location, mount, exterior cable route, wall-entry point, and router location are reviewed with the customer. This is the moment to discuss appearance, room layout, future roof work, and any property-specific concerns.
Need help with this on your Starlink system?
Mann's Starlink Contracting provides owner-installed service throughout Kentucky and an 11-state region.
Mounting and cable routing
The mount is secured to the appropriate structure and the cable is routed with a clean finished appearance in mind. Exterior runs are supported and protected, unnecessary loose cable is avoided, and the building entry is weather-sealed using appropriate pass-through materials.
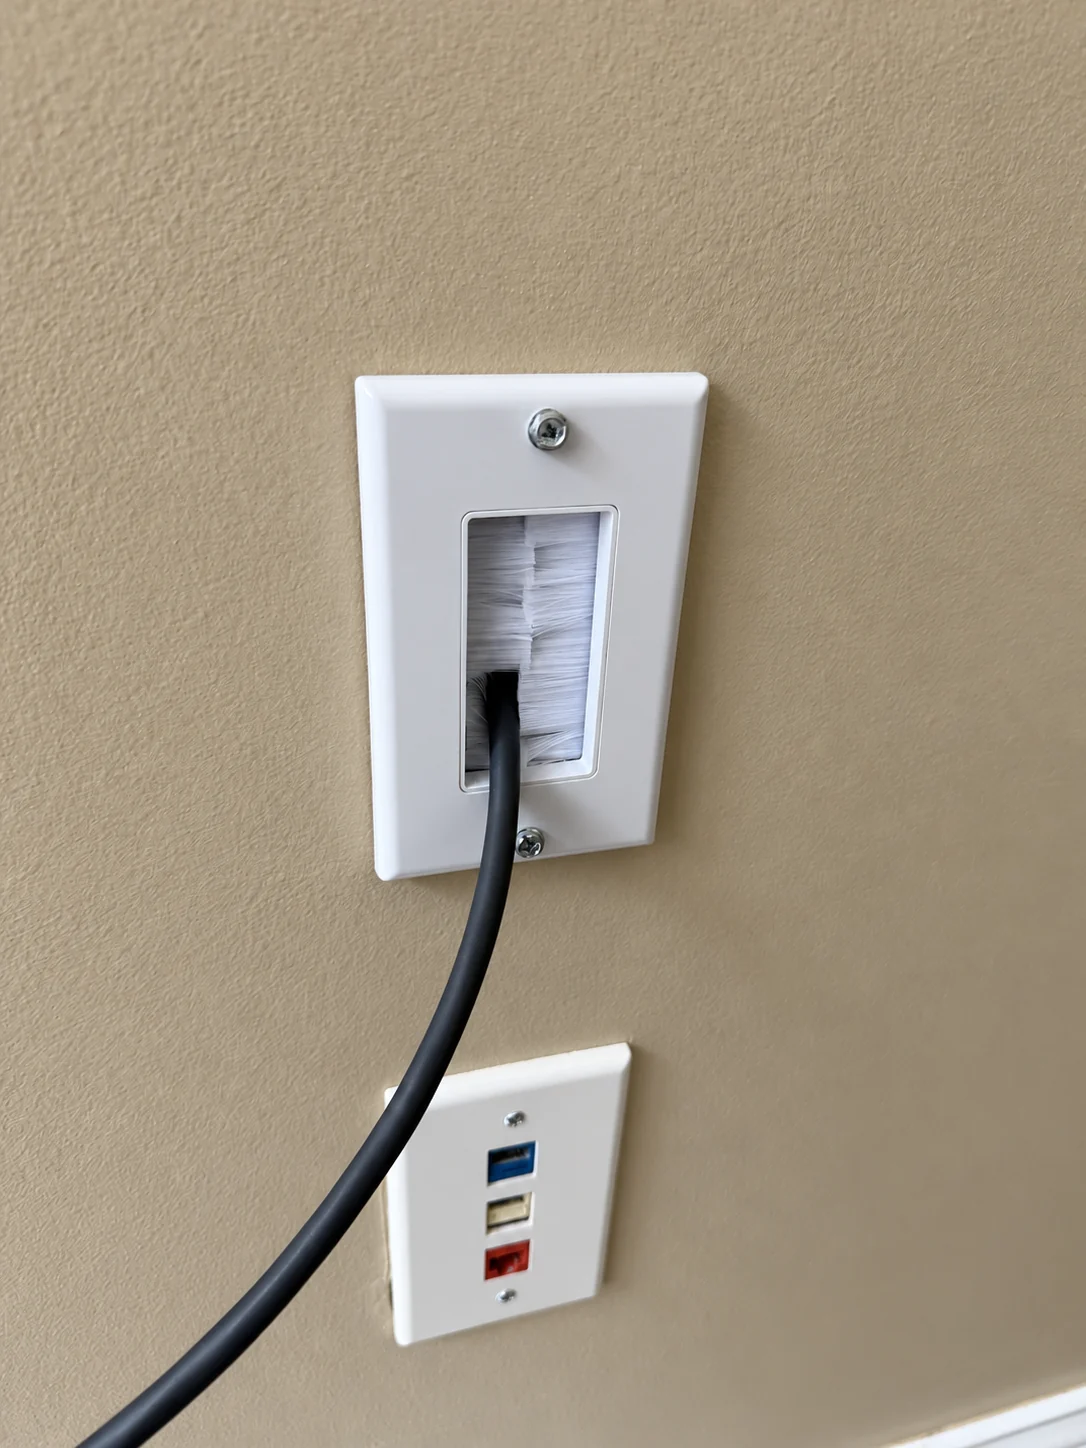
A brush plate finishes the indoor cable opening beside a power outlet. This shows the interior finish; the outside entry needs its own weather seal.
Installation and photo: Mann's Starlink Contracting · Retouched for presentation · View original field photo ↗Router setup and testing
After the equipment is connected, the router is powered on and the system is brought online. The installation is checked before departure. Customers can also receive guidance on router placement, Wi-Fi coverage, and whether mesh equipment may help larger or unusually shaped homes.
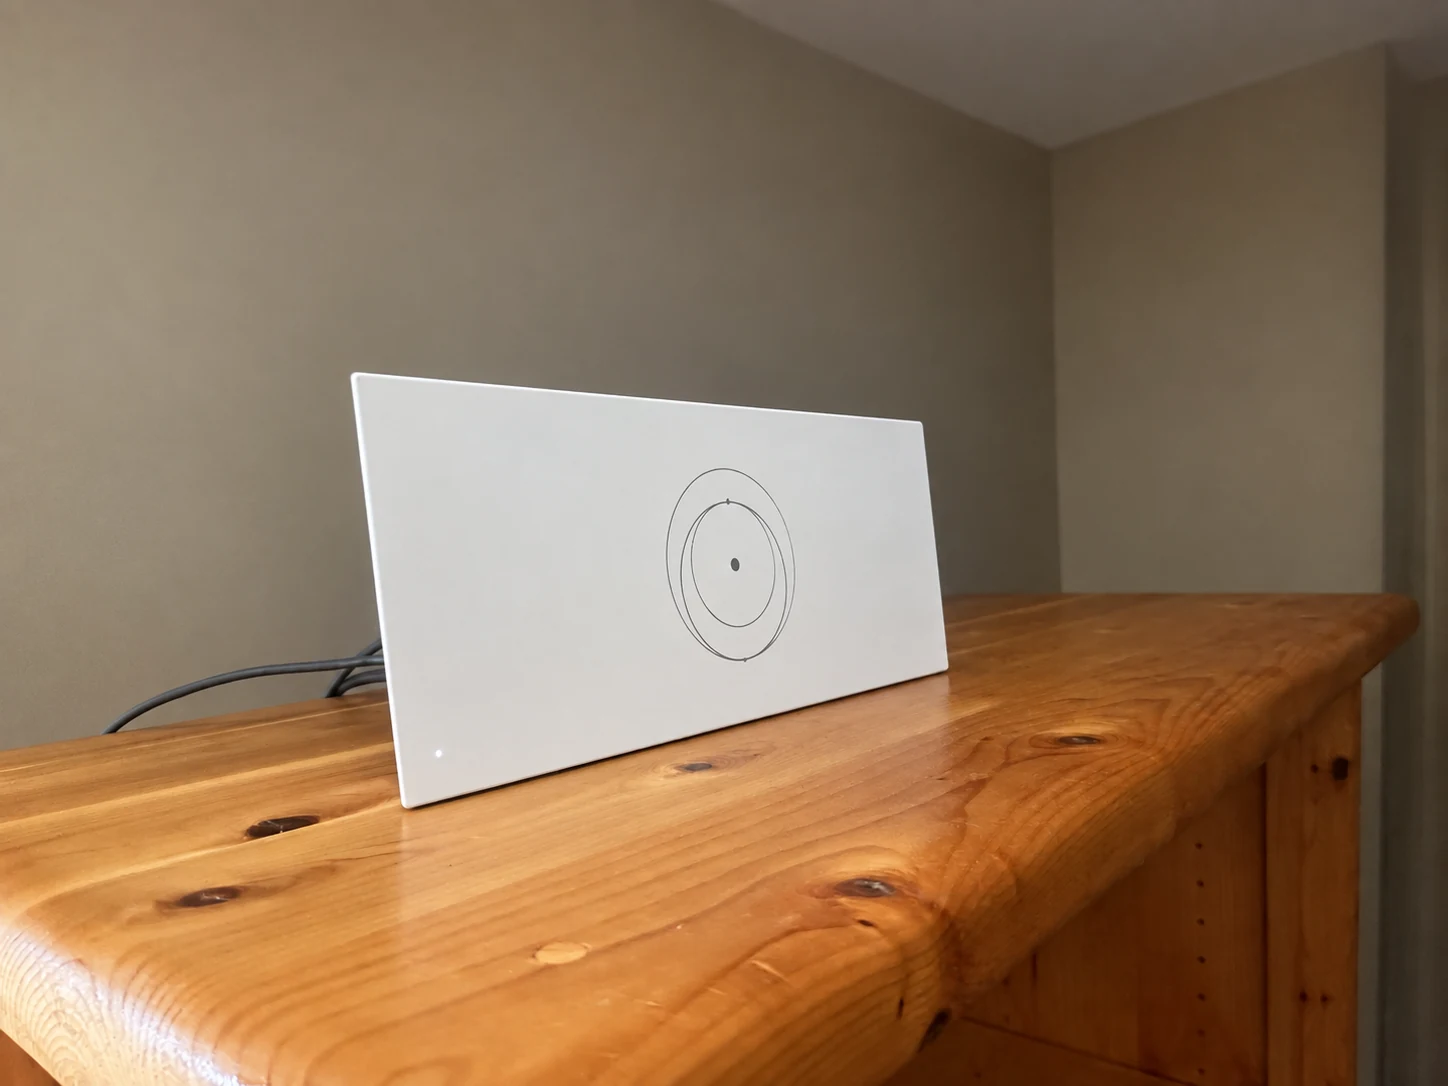
The router sits on a cabinet in the living space. Use room-by-room testing to decide whether this location provides the coverage your household needs.
Installation and photo: Mann's Starlink Contracting · Retouched for presentation · View original field photo ↗After the installation
Keep the area around the dish clear and monitor the Starlink app for obstruction or connection messages. If roof, siding, or remodeling work is planned later, contact the installer before moving installed equipment.
Get a personal installation estimate.
Send your location and project details. Caleb will discuss your equipment and mounting needs, then confirm your complete quote before scheduling.
Questions first? Call Caleb directly at 270-940-4866.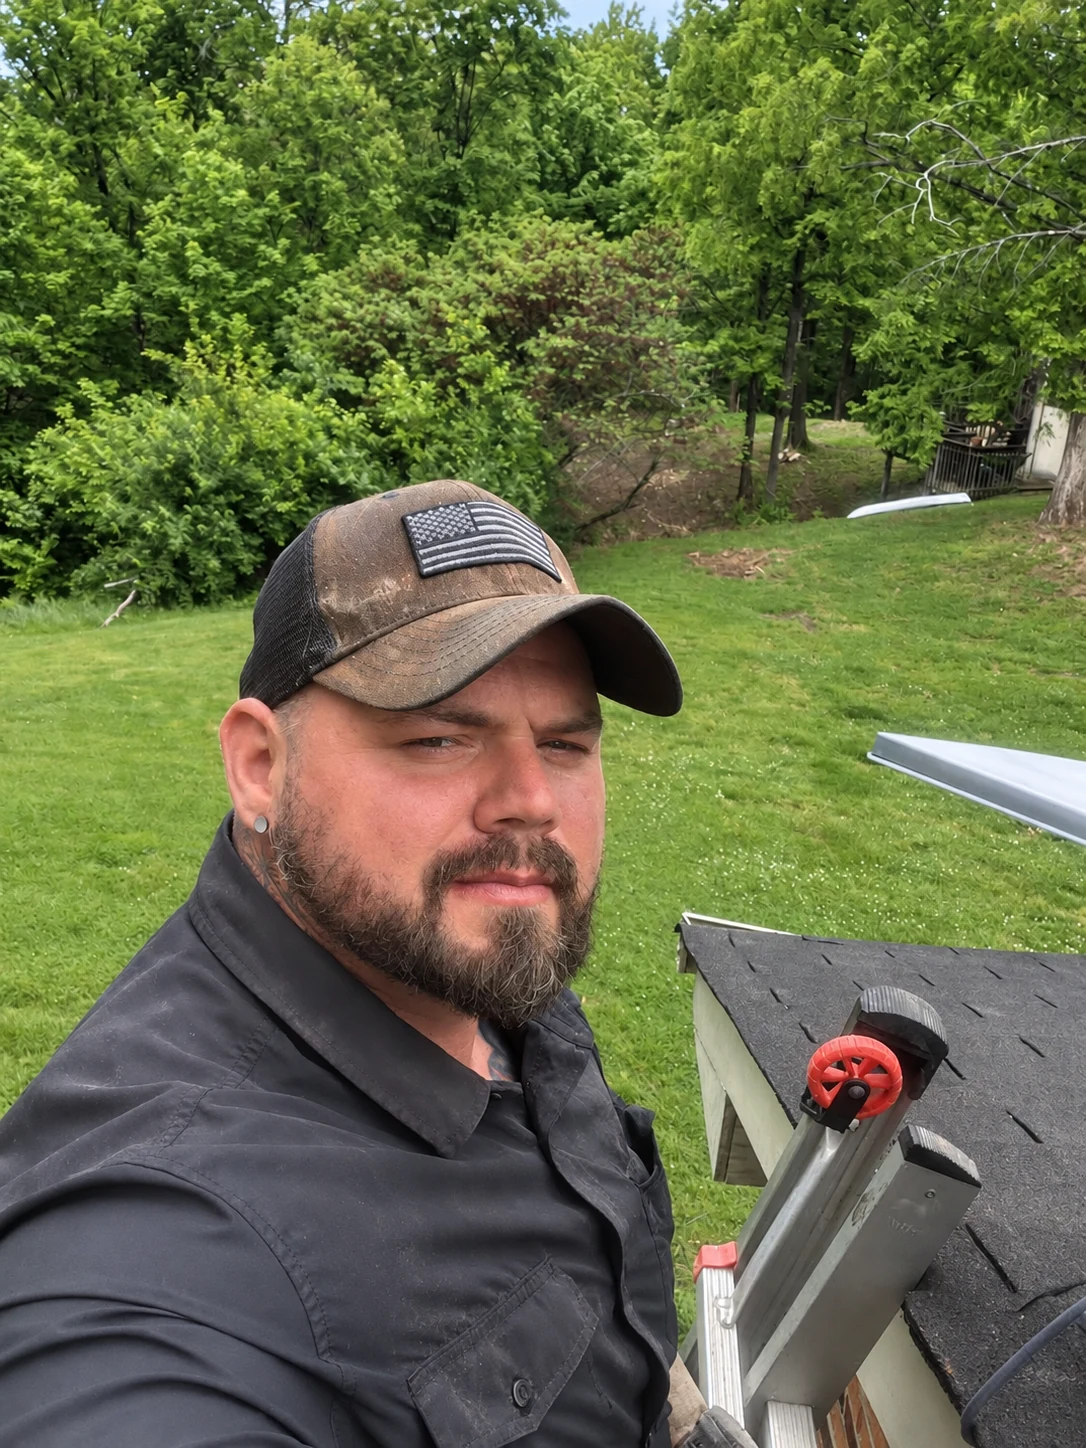
Written byCaleb MannOwner and installer at Mann's Starlink Contracting. Caleb works directly with customers from project planning through final system setup.
