
Every property and Starlink project is different. This guide explains the practical factors considered during professional installation and helps you prepare informed questions before work begins.
Why complete project details matter
Good project information helps the installer recommend the right service, identify likely equipment needs, and prepare an accurate invoice before arriving at the property.
The information is not used to make every decision remotely. It allows likely complications to be identified, compatible equipment to be prepared, and unrealistic requests to be discussed before travel. This is especially important for projects several hours away, where a missing mount or an unexpected dish generation can waste an entire appointment.
The property and equipment information to provide
Provide the complete service address, contact information, Starlink dish model, requested service, preferred mounting area, building type, roof or siding material, approximate stories, and any known tree or access concerns. Mention whether the kit is already activated.
Include whether the property is owned, rented, or controlled by an HOA; whether there is safe driveway access; and whether pets, gates, tenants, or business hours affect entry. For RV and marine work, provide the vehicle or vessel type, year when known, roof or rail material, available power, and whether the equipment must be removable.
Need help with this on your Starlink system?
Mann's Starlink Contracting provides owner-installed service throughout Kentucky and an 11-state region.
Photos that answer the most important questions
Useful photos include the full building from several sides, the likely dish area, the proposed cable-entry wall, the room where the router should sit, and any existing satellite mast or conduit you hope to reuse.
Wide photographs establish rooflines and trees; close photographs establish materials and condition. A useful set normally shows all building sides, the area above the desired router room, the electrical and plumbing fixtures near that wall, existing dish hardware, the unopened Starlink label, and any crawlspace, attic, or basement route being considered.
Details customers often overlook
Avoid tightly cropped photos, incomplete addresses, or assuming every Starlink generation uses the same mount and cable. Do not purchase specialized hardware solely from a guess about what the property requires.
Customers often forget to mention a new roof warranty, buried utilities, an inaccessible attic, a finished ceiling, a locked communications room, or that the Starlink kit is being delivered to another address. Also explain if the project depends on internet for medical monitoring, business payments, cameras, or scheduled remote work so expectations can be discussed honestly.
How good preparation improves appointment day
Submit the most complete details available; the plan can still be adjusted on site. An adult authorized to approve the final mount, cable route, and entry point should be present for the appointment.
Have the complete kit, account access, Wi-Fi name preference, and an authorized adult available. Clear vehicles or stored items from the work area and make sure the preferred router room can be entered. The final placement can change after the on-site obstruction review, but better preparation makes that decision faster and more accurate.
Get a personal installation estimate.
Send your location and project details. Caleb will discuss your equipment and mounting needs, then confirm your complete quote before scheduling.
Questions first? Call Caleb directly at 270-940-4866.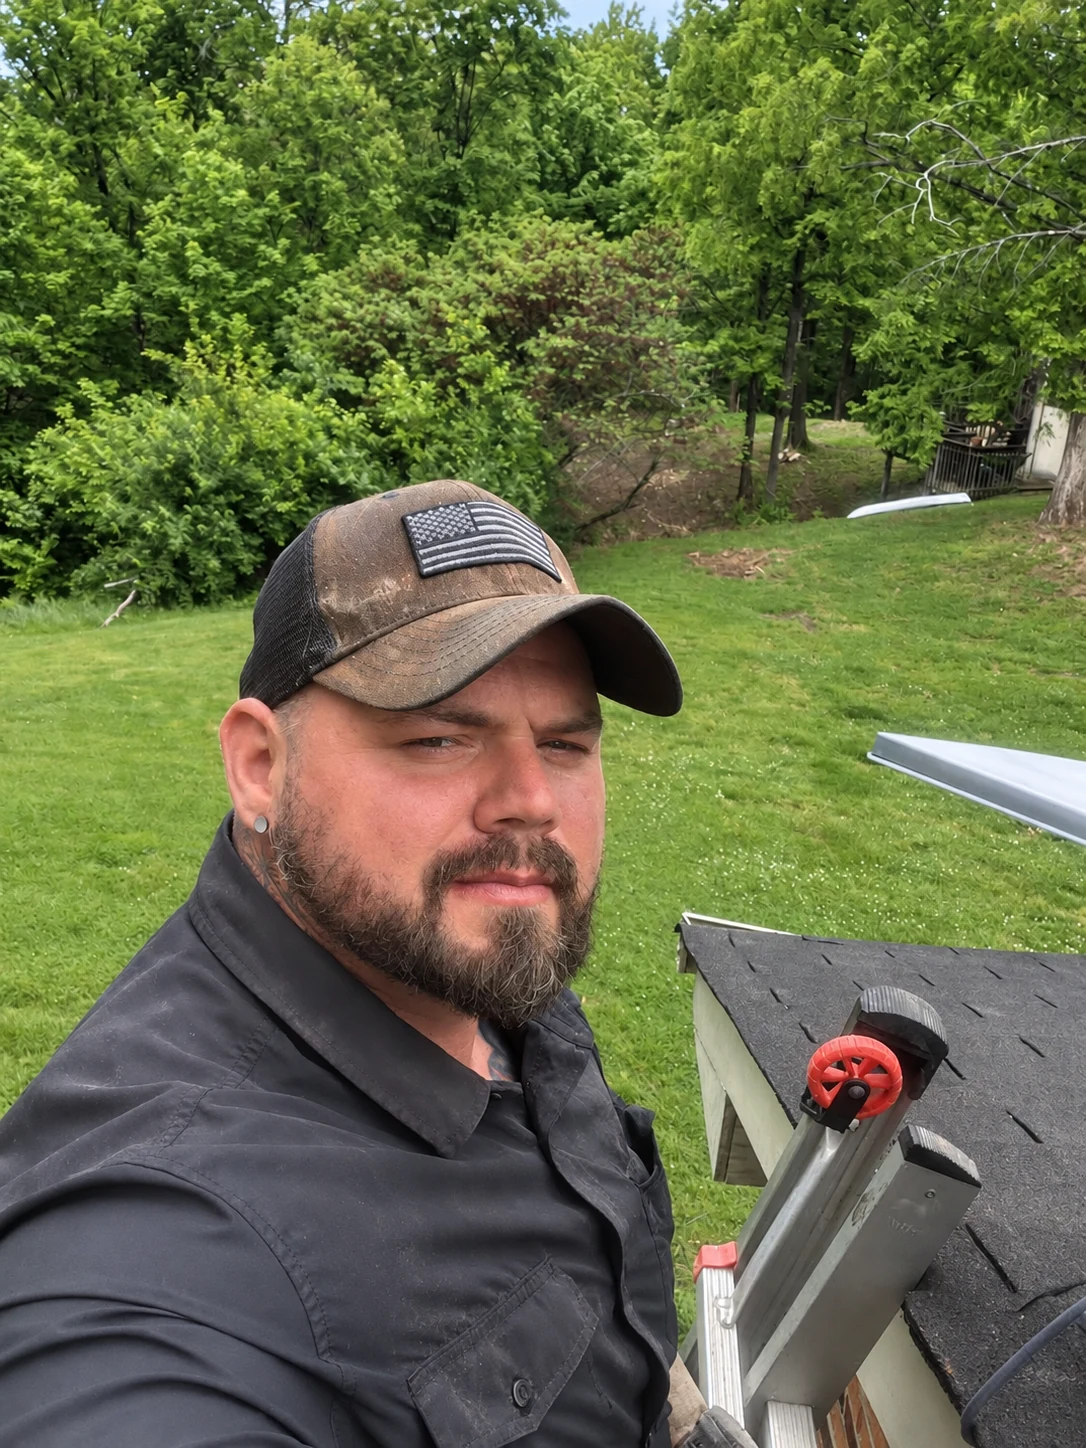
Written byCaleb MannOwner and installer at Mann's Starlink Contracting. Caleb works directly with customers from project planning through final system setup.

