
Every property and Starlink project is different. This guide explains the practical factors considered during professional installation and helps you prepare informed questions before work begins.
Why the wall material changes the installation
Brick, stone, vinyl, and wood may appear similar from a distance, but they cannot be drilled, anchored, or sealed the same way. A secure Starlink installation must transfer wind load into framing or masonry rather than relying on decorative cladding alone.
Wind does not push only against the face of the dish; it applies leverage through the mast and bracket. That force must reach a stud, rim board, rafter tail, solid masonry, or another verified structural member. The visible siding is usually a finish layer, so its appearance alone does not reveal what can safely support the mount.
Brick, stone, vinyl, and wood require different plans
Brick and stone require attention to mortar joints, masonry condition, anchors, and hidden cavities. Vinyl must not be crushed or expected to carry weight. Wood siding requires sound material, structural backing, corrosion-resistant fasteners, and careful sealing around every penetration.
On brick veneer, the installer must distinguish the exterior brick from structural masonry and avoid cracked or soft areas. Irregular stone can make a bracket sit unevenly. Vinyl expands and contracts with temperature and needs room to move, while older wood may look intact until a fastener reveals decay. Each surface also needs a compatible sealing method.
Need help with this on your Starlink system?
Mann's Starlink Contracting provides owner-installed service throughout Kentucky and an 11-state region.
Finding structure and creating a weather-resistant route
The installer first identifies framing or solid masonry, then chooses a wall, fascia, or under-eave position with a clear sky view. Cable entry points should shed water, use an exterior drip loop, and be sealed with a material compatible with the wall surface.
Stud location, interior wall layout, plumbing, electrical wiring, and the connector's size all influence the final entry point. A neat route normally includes evenly spaced exterior supports, a downward drip loop before entry, an edge-protected opening, and sealant placed so water is directed away rather than trapped behind the siding.
Attachments and cable routes that commonly fail
Avoid attaching a mount only to vinyl, loose veneer, thin trim, or deteriorated wood. Excessive sealant cannot correct a weak attachment, and an unprotected cable edge can eventually cut or abrade the cable jacket.
Fastening into mortar alone, overtightening vinyl, bridging uneven stone with a twisted bracket, or relying on caulk to hold loose wood can shorten the life of the installation. Cable should not rub against brick corners, hang from its connector, or be pinched beneath trim. These problems may not fail immediately, which is why the underlying method matters.
What to photograph before the appointment
Send clear exterior photos and identify the wall material when scheduling. An on-site inspection confirms what is structural, where the cable can enter, and whether another mounting surface provides a safer and cleaner result.
Include wide photos of every side of the building and close views of the siding, soffit, fascia, and likely cable-entry area. Interior photos of the preferred router room are also helpful. If the wall contains a fireplace, electrical panel, plumbing fixture, or finished basement below it, mention that before a route is selected.
Get a personal installation estimate.
Send your location and project details. Caleb will discuss your equipment and mounting needs, then confirm your complete quote before scheduling.
Questions first? Call Caleb directly at 270-940-4866.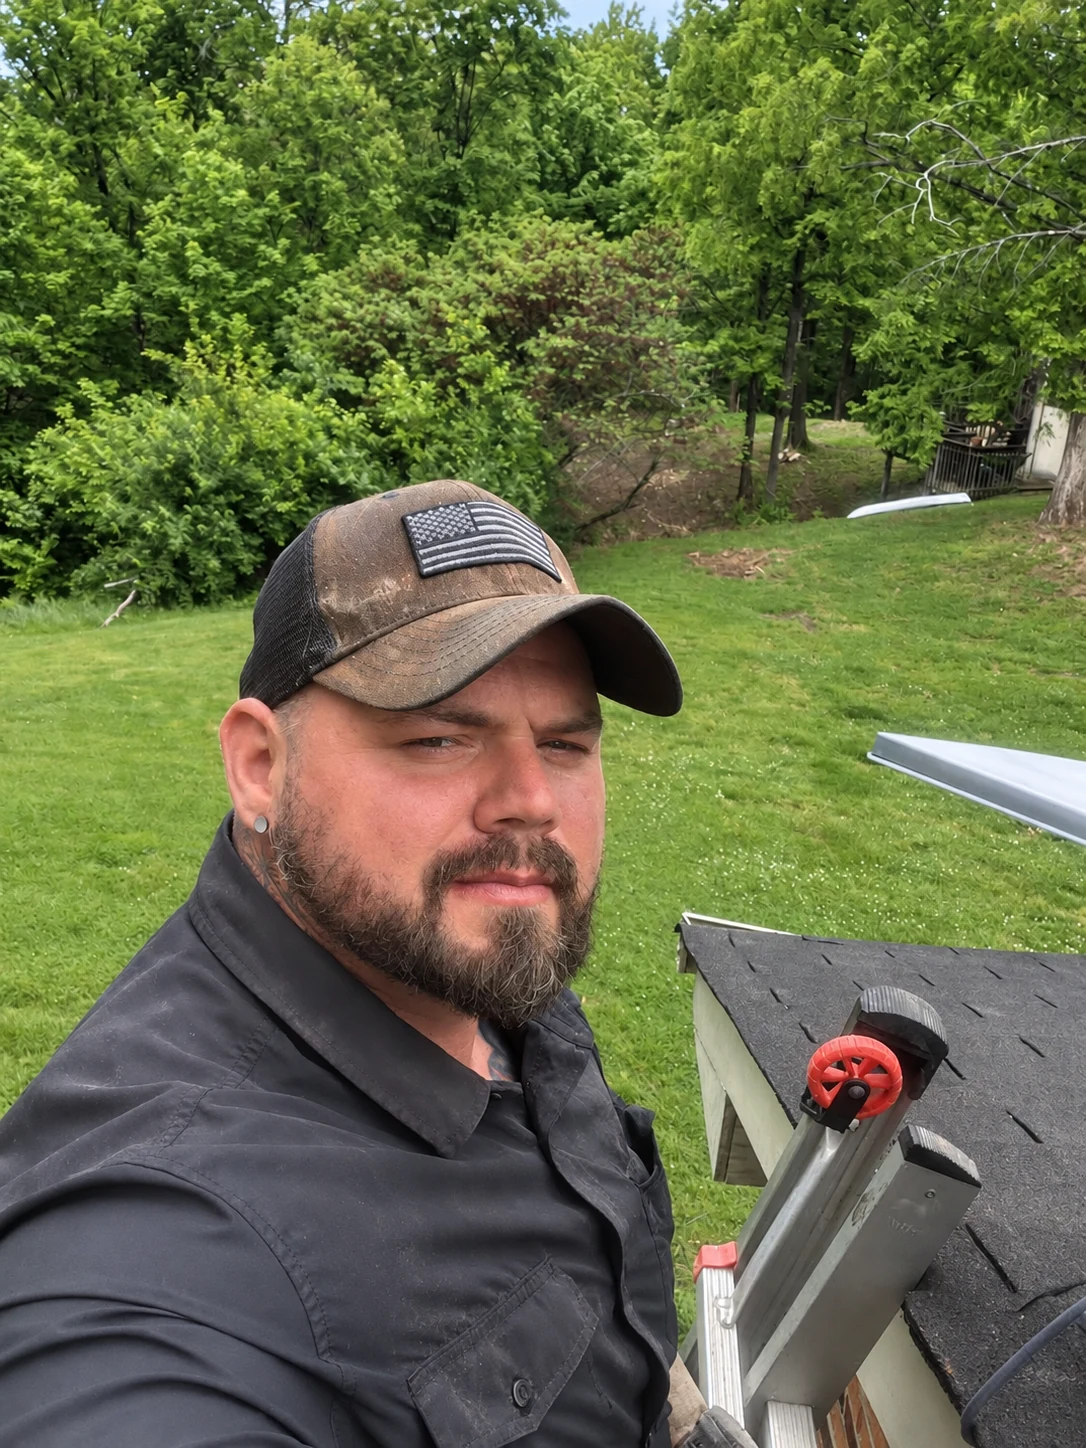
Written byCaleb MannOwner and installer at Mann's Starlink Contracting. Caleb works directly with customers from project planning through final system setup.

