
Every property and Starlink project is different. This guide explains the practical factors considered during professional installation and helps you prepare informed questions before work begins.
What a starting price represents
A starting price represents a straightforward base service. The final total changes when a property needs additional hardware, longer or more complex work, specialty access, optional networking equipment, or travel outside the local area.
A starting price normally assumes one compatible Starlink kit, a reasonably accessible property, a straightforward approved route, and no unusual structural or network work. It is useful for comparison, but it cannot represent every roof, wall material, tree line, building height, or distance within an eleven-state service area.
The options that change labor and equipment
Common cost factors include roof, wall, pole, or non-penetrating mounts; router and mesh equipment; legacy dish removal; multiple buildings; difficult roof access; and cable paths requiring conduit or additional protection.
A wall or roof bracket adds hardware and fastening work, while a ground pole adds placement, excavation, conduit, and protection. Non-penetrating commercial mounts require ballast planning. Mesh routers, router mounts, longer cables, removal of legacy dishes, and point-to-point links all solve different needs and should not be hidden inside one vague charge.
Need help with this on your Starlink system?
Mann's Starlink Contracting provides owner-installed service throughout Kentucky and an 11-state region.
Why access and cable routing affect the total
A good estimate separates the base service from each selected option. The full address, photographs, building material, Starlink model, and requested router location allow the project to be scoped before the appointment.
Steep or high roofs require more time and may not be safe under the day's conditions. A route through an unfinished basement is different from one crossing finished rooms or masonry walls. Travel is based on the actual project address, and a distant appointment also requires enough information to avoid arriving without compatible equipment.
How to compare estimates fairly
Choosing the least expensive mount without considering structure or obstructions can create a poor installation. Likewise, comparing only base prices may overlook whether sealing, testing, cable protection, travel, or cleanup is included.
Ask whether the estimate includes the mount, fasteners, cable support, penetration sealing, router setup, testing, cleanup, travel, and any return visit. A lower number may describe only labor to place the dish. An itemized invoice makes it easier to identify real differences instead of assuming every installer is offering the same work.
Approving the final scope
Use the online configurator for an initial estimate and review the invoice before work begins. If site conditions change the plan, approve the revised scope before additional work or equipment is added.
The property review may reveal that the requested location is obstructed or structurally unsuitable. When that happens, the installer should explain the alternative and any price change before proceeding. The customer can accept the revised scope, select a simpler viable option, request a survey, or postpone the project without being surprised after completion.
Get a personal installation estimate.
Send your location and project details. Caleb will discuss your equipment and mounting needs, then confirm your complete quote before scheduling.
Questions first? Call Caleb directly at 270-940-4866.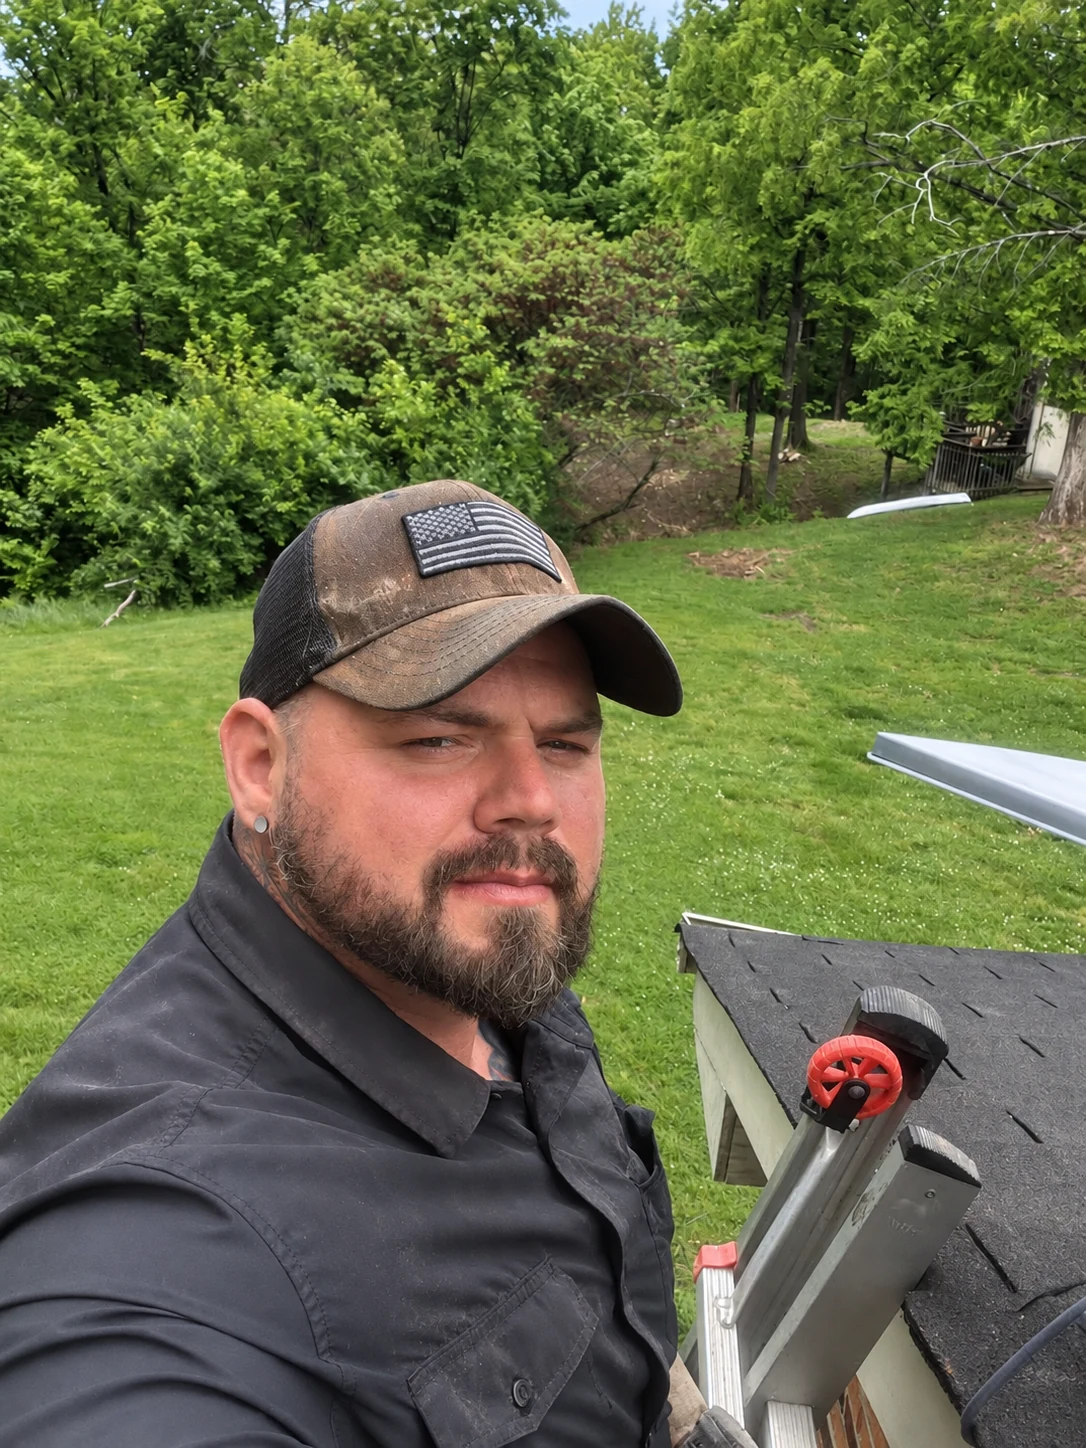
Written byCaleb MannOwner and installer at Mann's Starlink Contracting. Caleb works directly with customers from project planning through final system setup.

