
Every property and Starlink project is different. This guide explains the practical factors considered during professional installation and helps you prepare informed questions before work begins.
Buy the service kit, but pause before buying every accessory
Customers should normally have the correct Starlink service kit before installation, but buying every mount and accessory in advance can create returns, delays, or equipment that does not suit the property.
The dish, router, power equipment, and factory cable normally come from Starlink and must match the customer's account and service plan. Installation hardware is more property-specific. Buying a popular mount before evaluating sky view and structure can lock the project into the wrong location or leave the customer with hardware that cannot be returned.
Confirm the exact Starlink generation
Confirm the dish generation, cable length, service plan, activation status, intended router location, and what Starlink includes in the box. Mount compatibility differs across generations and Performance equipment may require different planning.
Circular Gen 1, actuated rectangular, Gen 3 Standard, Mini, and Performance equipment do not share every mast size, cable, power method, or mounting accessory. Photograph the label and all connector ends rather than relying on a marketplace listing. A seller's use of the word ‘standard’ may describe condition or package size instead of the actual generation.
Need help with this on your Starlink system?
Mann's Starlink Contracting provides owner-installed service throughout Kentucky and an 11-state region.
Equipment best chosen after property review
Purchase the primary Starlink kit when you know which model and plan meet your needs. Wait on specialized mounts, mesh quantities, ground-pole adapters, and long cable choices until the building, obstructions, and route have been reviewed.
Ground-pole length and adapter, non-penetrating ballast, wall or fascia bracket, cable length, conduit size, mesh count, Ethernet switching, and router mounts depend on the approved route and coverage goals. Performance equipment also has different environmental, power, and installation considerations from a household Standard kit.
Common compatibility and return problems
Avoid opening return-sensitive accessories unnecessarily or buying third-party hardware based only on a product title. A mount can physically fit while still being inappropriate for the surface, wind exposure, or cable route.
Third-party kits may omit fasteners, use thin metal, or claim compatibility without supporting the correct mast securely. Customers also open accessories before learning that the chosen roof area is obstructed. Keep packaging and return eligibility until the on-site plan is certain, particularly for expensive mounts and networking equipment.
A practical purchasing sequence
Share the kit model and photos before the appointment. The installer can identify likely hardware, explain what may be supplied by the customer, and reduce the chance of arriving with incompatible parts.
First choose the Starlink plan and dish type based on the actual use. Next share the kit model and property photos with the installer. Then purchase or approve the mount, cable, and Wi-Fi equipment recommended for the verified location. This sequence reduces duplicate purchases and still allows equipment to be ready for appointment day.
Get a personal installation estimate.
Send your location and project details. Caleb will discuss your equipment and mounting needs, then confirm your complete quote before scheduling.
Questions first? Call Caleb directly at 270-940-4866.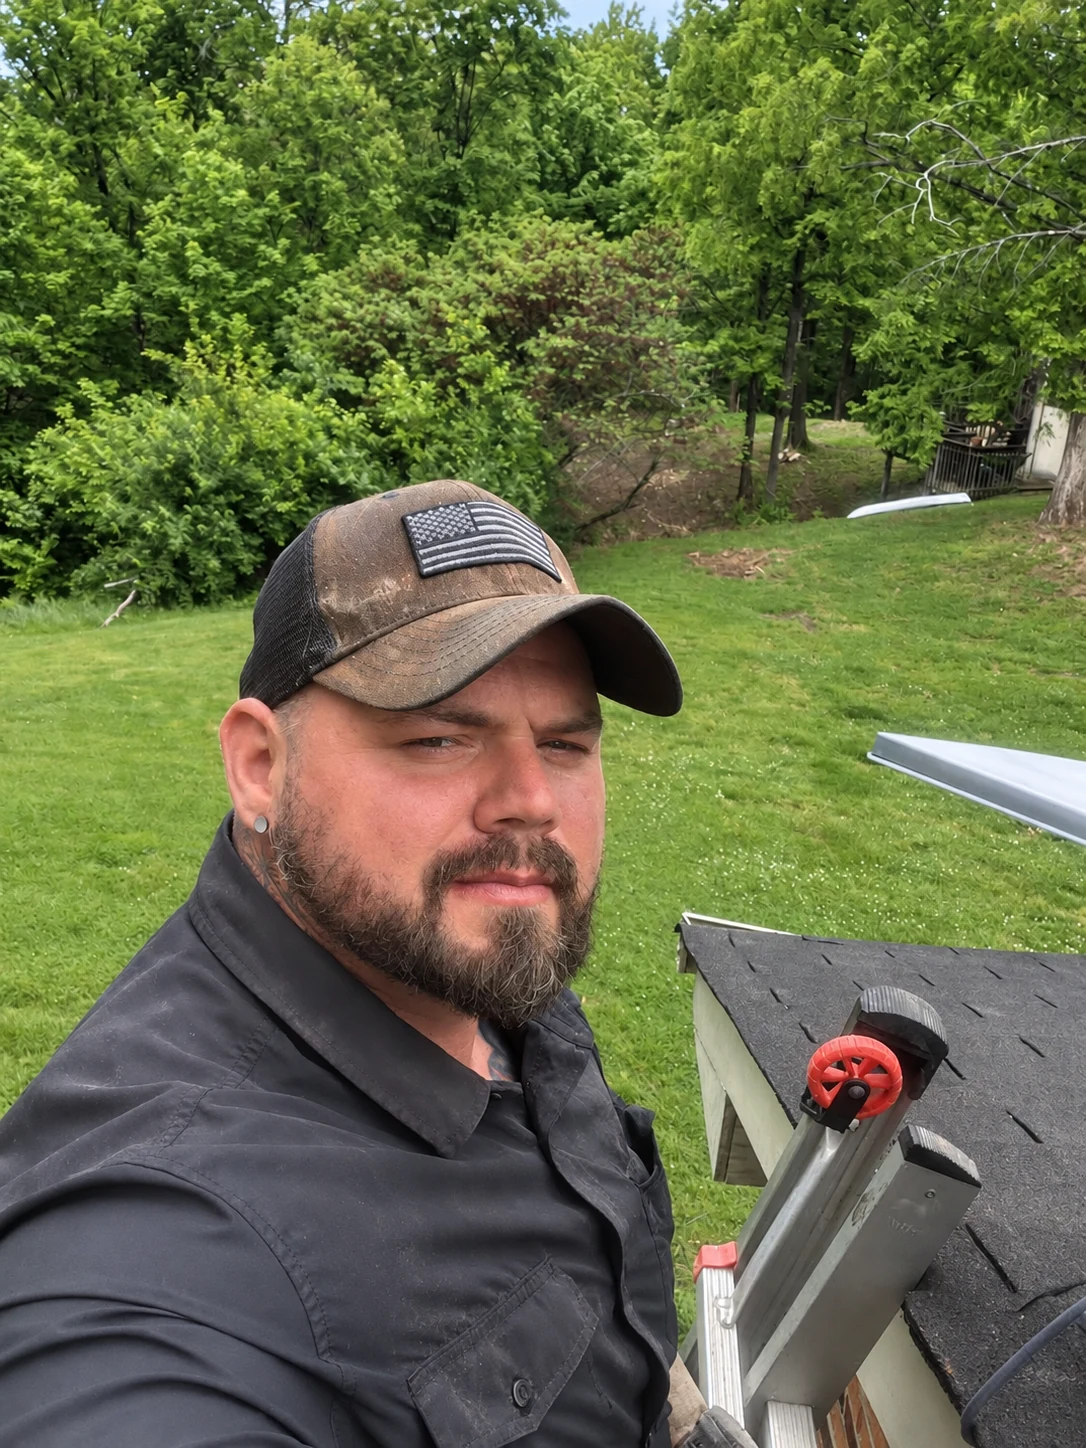
Written byCaleb MannOwner and installer at Mann's Starlink Contracting. Caleb works directly with customers from project planning through final system setup.

