
Every property and Starlink project is different. This guide explains the practical factors considered during professional installation and helps you prepare informed questions before work begins.
Why ordinary indoor Wi-Fi rarely reaches another building
A detached building is rarely served well by placing an indoor mesh router near a window and hoping the signal crosses open space and exterior walls. The connection between buildings needs its own design.
Exterior walls, distance, terrain, and metal siding weaken the signal twice—once leaving the main building and again entering the outbuilding. A phone may show one bar outside a barn yet lose service immediately inside. The correct design establishes a dependable backhaul between structures, then creates a new local Wi-Fi cell indoors.
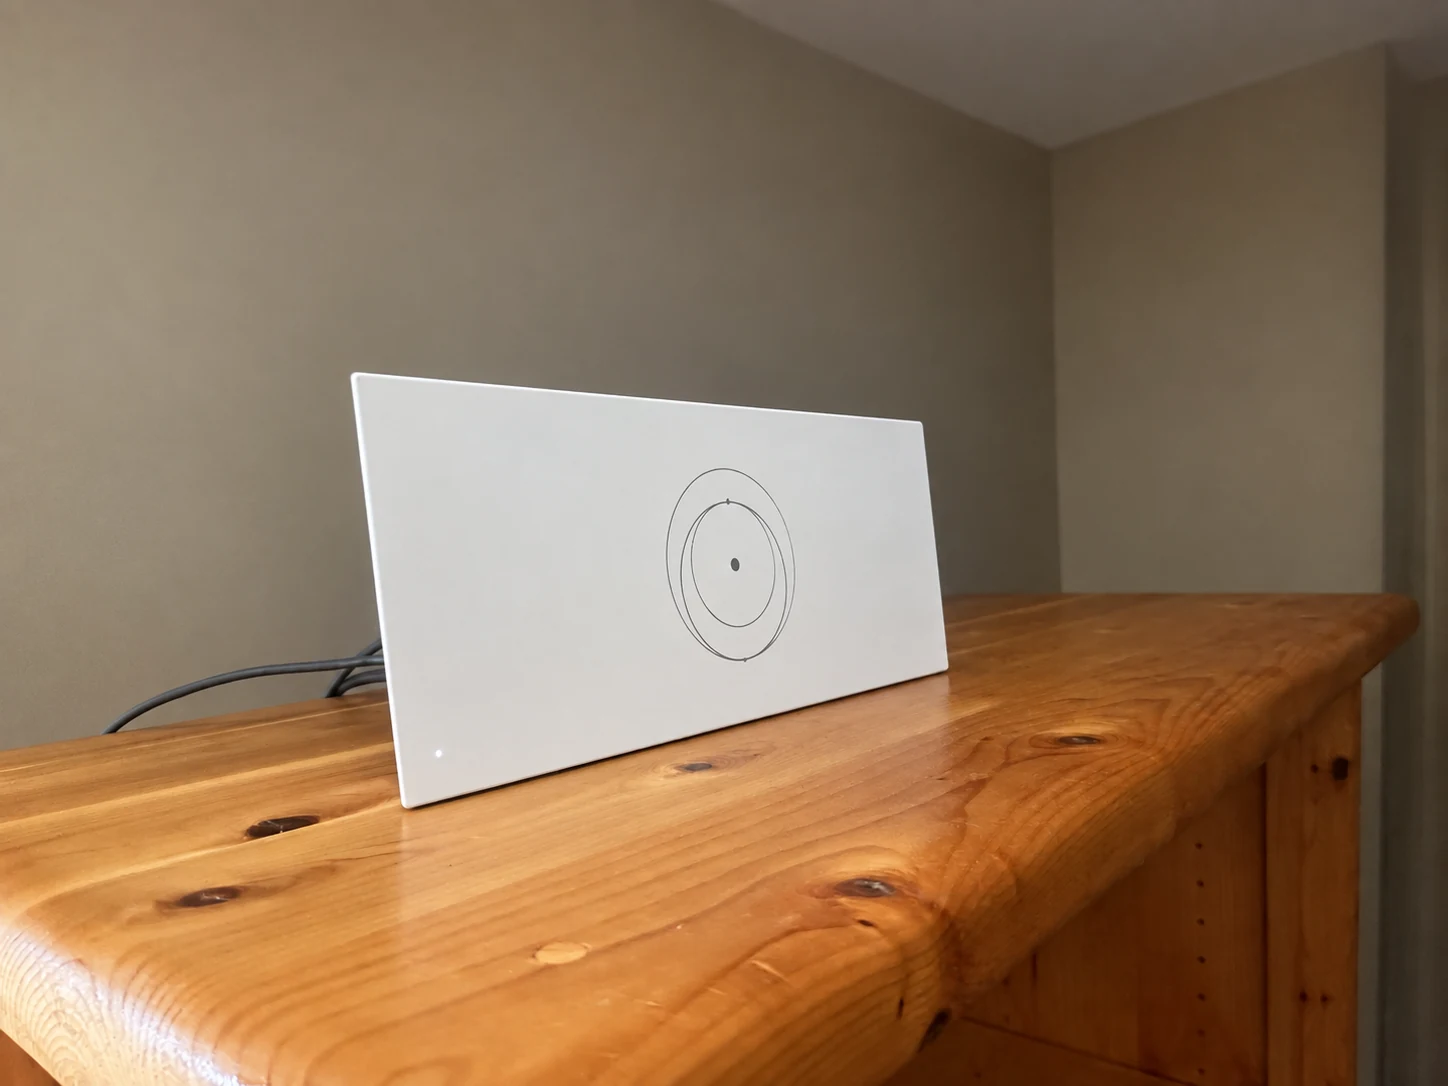
The router sits on a cabinet in the living space. Use room-by-room testing to decide whether this location provides the coverage your household needs.
Installation and photo: Mann's Starlink Contracting · Retouched for presentation · View original field photo ↗Compare fiber, Ethernet, and wireless bridges
Measure distance and line of sight, note trees and terrain, identify available power, determine bandwidth needs, and consider lightning exposure. Metal siding can severely block Wi-Fi even when the buildings are close.
Fiber offers high capacity and electrical isolation between buildings, making it strong for buried permanent routes. Copper Ethernet can be simpler at shorter distances but needs environmental protection and surge consideration. A wireless bridge avoids trenching but requires a clear, stable line of sight and suitable mounting on both structures.
Need help with this on your Starlink system?
Mann's Starlink Contracting provides owner-installed service throughout Kentucky and an 11-state region.
Designing a point-to-point link
Direct-burial-rated fiber or protected Ethernet may suit some routes; fiber provides electrical isolation. A properly aligned point-to-point wireless bridge is often effective when trenching is impractical and clear line of sight exists.
Bridge units should face one another with minimal obstruction and enough mounting rigidity to hold alignment. Trees, seasonal leaves, vehicles, grain bins, and new construction can interrupt the path. Distance determines equipment choice, but a shorter path through foliage may perform worse than a longer open path.
Creating usable coverage inside the second building
Avoid ordinary indoor Ethernet outdoors, unsupported overhead cable, consumer mesh nodes placed too far apart, and copper connections between buildings without considering surge and grounding risks.
The receiving bridge normally connects to an Ethernet switch or access point inside the garage, barn, or workshop. Metal walls may require the access point to be physically inside the occupied space. Place it for work areas and cameras rather than beside the bridge solely because that cable route is shortest.
Planning for lightning, power, and future expansion
Choose the link based on distance, terrain, building materials, reliability needs, and installation cost. Once the building-to-building link is stable, add an indoor access point for usable Wi-Fi inside the second structure.
Buildings need stable power and protection appropriate to their electrical environment. Copper between separately grounded structures can carry damaging surge differences, while outdoor radios remain lightning-exposed. Plan spare capacity for future cameras, offices, equipment, or another building instead of sizing only for today's single device.
Get a personal installation estimate.
Send your location and project details. Caleb will discuss your equipment and mounting needs, then confirm your complete quote before scheduling.
Questions first? Call Caleb directly at 270-940-4866.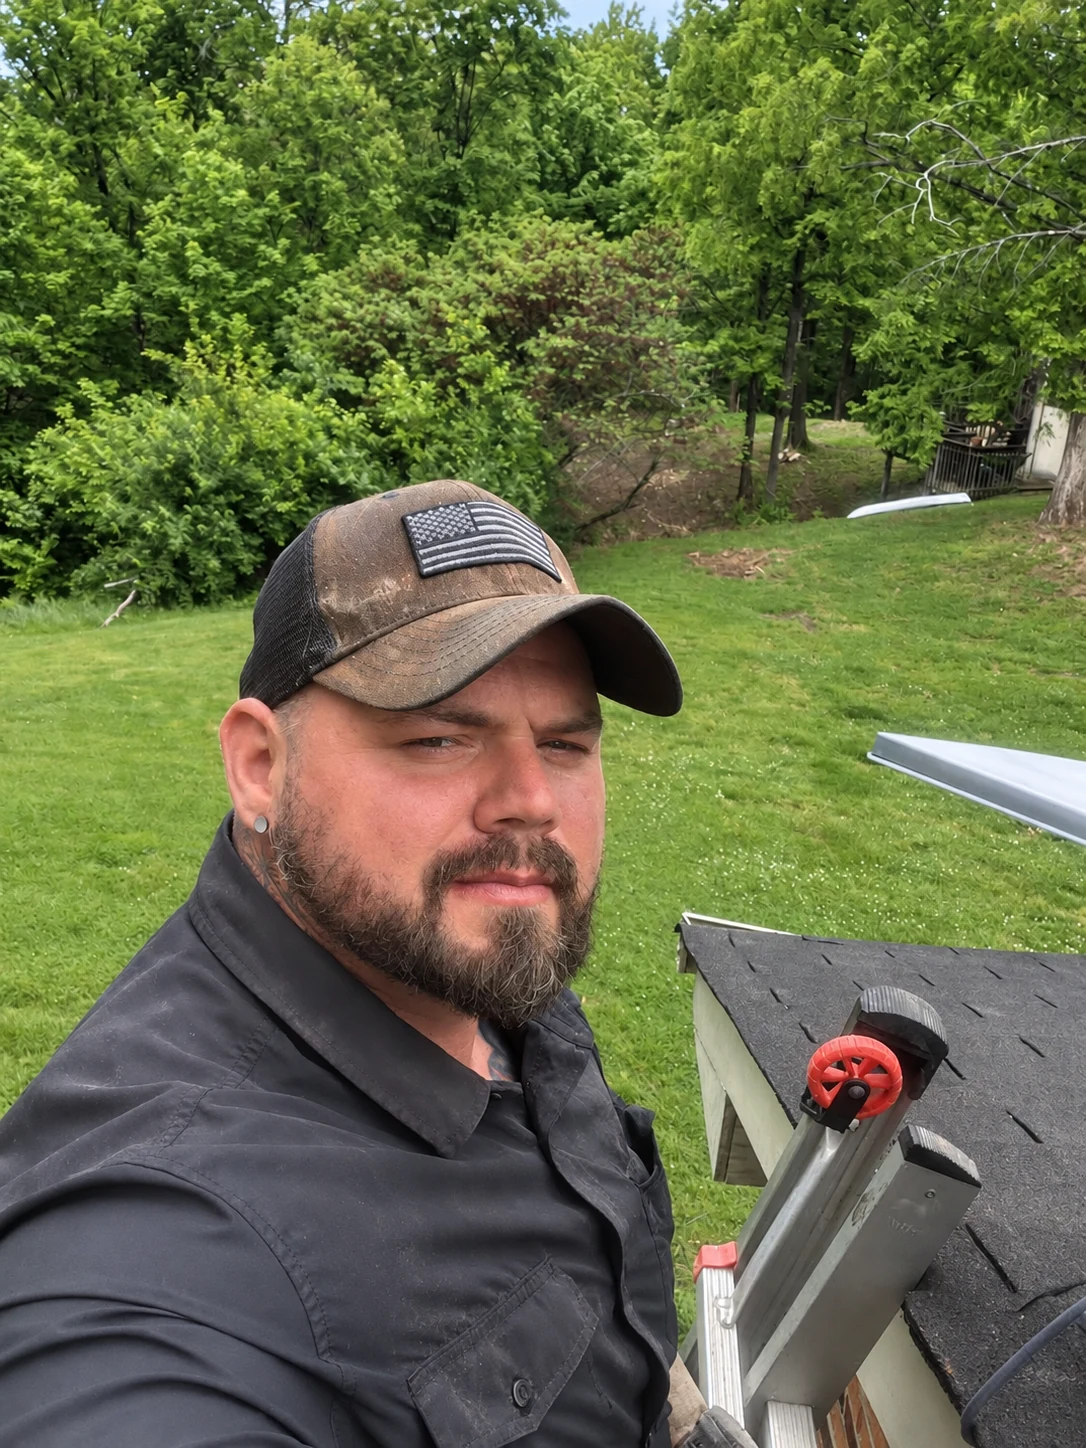
Written byCaleb MannOwner and installer at Mann's Starlink Contracting. Caleb works directly with customers from project planning through final system setup.
